10,000 wedding photos: a clear workflow through to delivery
A clear wedding workflow for 10,000 images: back up, import, cull, edit, check and deliver as a client gallery.

You come home from a wedding with 10,000 images on several memory cards. Now the part begins where it is easy to lose the thread: back up first or import straight away, when to cull, which images to edit first, and how all of that turns into a finished reportage in the end.
This article takes you through the whole process in a fixed order, from the memory cards through selection and editing to the client gallery. You can adapt the individual steps to the way you work, but you will always know what comes next and when a job is really finished.
1. The memory cards stay untouched
After the wedding the cards are, for the moment, the only media that definitely hold every frame. Do not format them and do not use them for the next job until at least two verified copies exist.
If your camera has written to two cards in parallel, keep the two sets apart while travelling. One card, or one complete set of cards, belongs in a protective wallet on your person. Both copies in the same camera backpack help very little if the backpack is stolen.
At home you put the cards into a fixed place for jobs that have not been backed up yet. A simple system prevents mix-ups: cards in the red compartment have not been copied, cards in the green compartment are verified but not yet cleared for reuse.
2. A second copy comes before the import
Create a clearly named job folder for the wedding. The date, the names or an internal job number will do. The exact structure should fit your archive and work the same way for every job.
An example:
2026-09-18_wedding-sample/
  01_originals/
  02_catalogue/
  03_retouching/
  04_export/
  05_delivery/
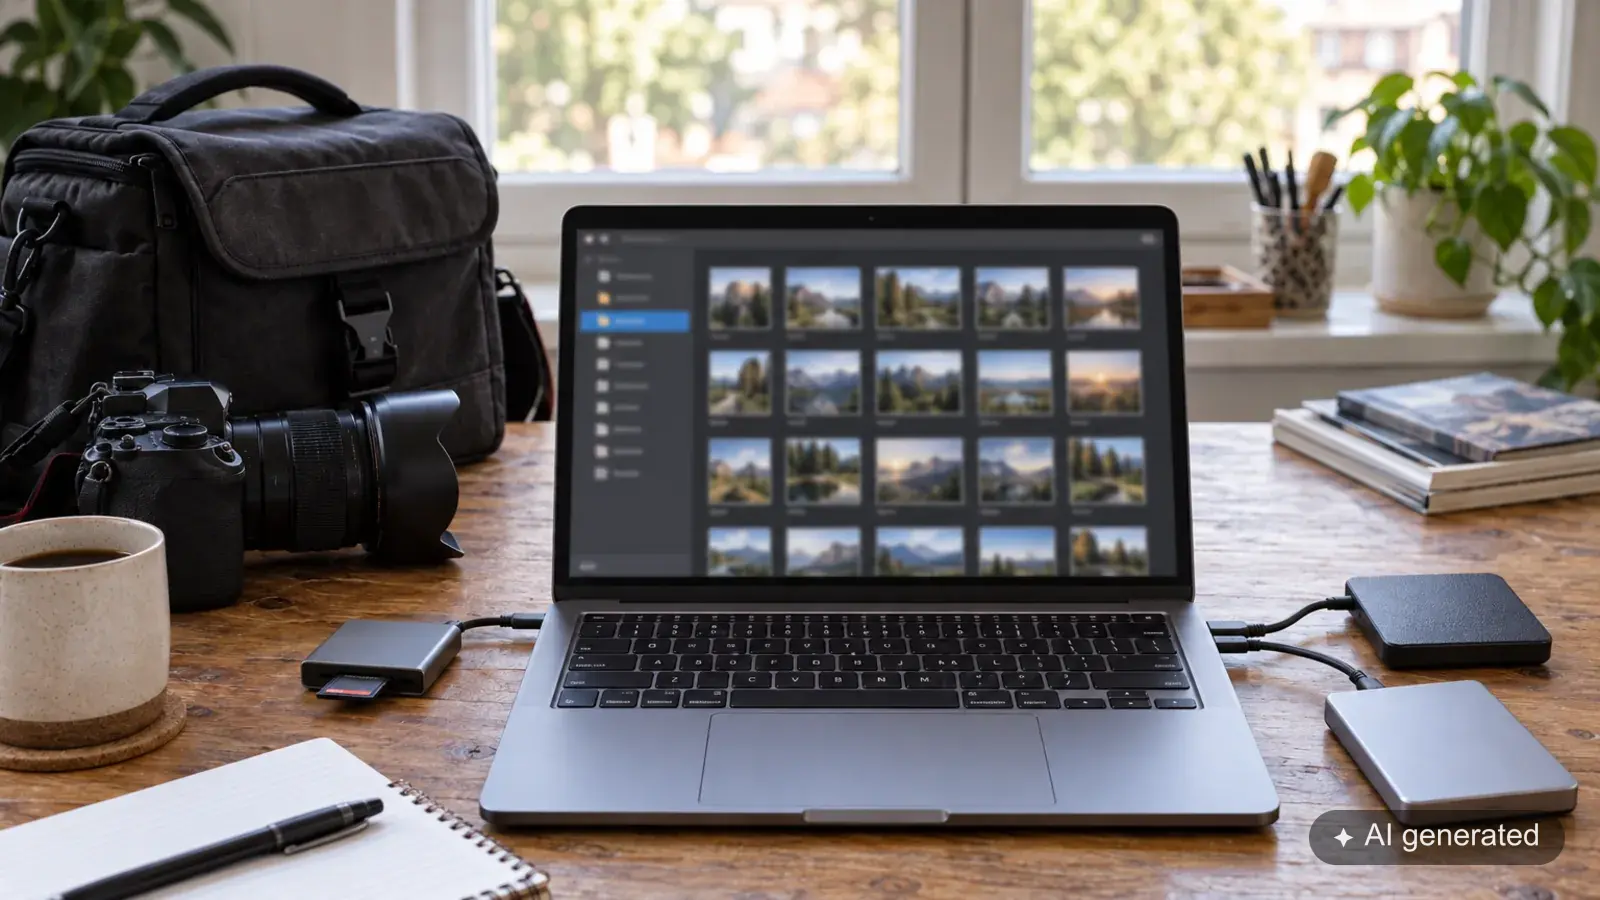
Copy the cards into the folder for the originals and, at the same time, onto an independent drive. Some import programs can create a second copy while reading in. Check where that copy lands all the same. A second folder on the same SSD gives no protection if that drive fails.
After copying, check the file count and the amount of data from each card. Open frames from the beginning, the middle and the end. A copying program with checksums can also verify that source and target match.
Only once the working copy and the independent backup are complete does the import proper begin. Even then the cards stay untouched until the job has also arrived in your normal backup routine.
3. Create order at the import without rebuilding the job
Import the images into your existing Lightroom Classic catalogue, or into the catalogue you use for weddings. Create a collection or a collection set for the job.
If several cameras were involved, identical file names can occur. Rename files unambiguously during the import if needed, for instance with a job code, the camera and a running number. Renaming later is harder once file names already appear in a proofing gallery or in client comments.
At the import, add only details that are true for every image: creator, job and, where it applies, basic keywords. Subjects, people and individual situations come later. Extensive keywording before the selection costs a great deal of time with 10,000 images, much of it on files that will never be delivered.
Then let the previews build that you need for your selection. Wait for that to finish before you judge Lightroom on how slowly it moves from image to image.
4. In the first pass, flag only the obvious write-offs
The first pass is not the final selection. You only remove what clearly does not belong in the shortlist:
- accidental releases
- completely black or white frames
- misfocused shots that are plainly unusable
- test frames with no documentary value
- technical sequences where only one setting can obviously have worked
Do not linger over borderline cases. A blurred dance shot can look intentional. Closed eyes can be part of the moment in an embrace. Mark images like that for later judgement instead of discarding them for good in a quick first pass.
At the end the set is smaller, without you having had to decide between five nearly identical variants yet.
5. In the second pass, compare similar images
Now you work through the big sequences: the entrance, the exchange of rings, the kiss, the congratulations, the group shots, the couple session and the dancing. Compare similar frames side by side.
Three questions help with each group:
- Which image shows the strongest expression?
- Is everything there technically that matters for this subject?
- Does a second variant add to the story or just repeat the same thing?
With a group shot, two versions can make sense when the faces have come out differently. For the exchange of rings you may need both a wide view and a closer frame. Ten nearly identical images, on the other hand, make the reportage longer but not more complete.
Set a clear flag on the images that go into the shortlist. You only need further stars or colours if they have a fixed meaning in your workflow.
6. Check the selection for completeness
Only after comparing similar sequences do you look at the wedding as a whole. At this point it is no longer just about whether a single image is good.
Go through the day and check:
- Are the preparations, the ceremony, the congratulations, the portraits and the party fairly represented?
- Are the important relatives and the group shots you agreed on included?
- Are there frames of the venue, of details and of transitions?
- Is a moment missing because you cut its whole sequence too hard?
- Does one subject repeat unnecessarily across several sections?
Selecting images and ordering them are two different jobs. First you decide which images stay. Then you arrange the selection so that the day makes sense.
A chronological order is a good starting point for weddings. Within a section you can alternate between wide view, closeness, reaction and detail. A quiet image between two dense situations gives the reportage room to breathe.
7. Only now does the editing begin
Editing starts with the finished photographic selection. That way you spend no time on images that will drop out later anyway.
Split the selection by lighting situation, for example:
- preparations by the window
- ceremony indoors
- congratulations outdoors
- couple session in the shade
- dinner under mixed light
- dance floor with flash
Pick a typical reference image for each group. Set the profile, white balance, exposure, contrast and colour rendering there. The reference image should represent the group well. An extreme backlit frame is no basis for twenty evenly lit portraits.
Copy the matching base settings to a few images at the start, in the middle and at the end of the group first. If those are right, you can sync the rest. Crop, exposure and local masks still get checked one by one.
In Lightroom Classic, develop settings can be copied to selected images. Adobe describes the tools in its overview of the Develop module.
8. Exceptions and heavy retouching come later
After the base development you go through the whole selection and correct the outliers. That includes shifting exposure, coloured reflections, an awkward crop or individual skin tones that step out of line within a scene.
Heavy retouching is then done deliberately, image by image. Not every photo needs the same detail work. A large couple portrait for print gets checked differently from a situational frame in the reportage.
If you use AI tools for denoising, masking or removing objects, test the order on one typical image first. Depending on the Lightroom version, later changes can trigger a fresh calculation. Check the result again after the update.
9. Check the finished series in three views
A final check in the single-image view alone is not enough.
In the grid you can see:
- visible jumps in brightness or colour
- too many similar images
- single black and white frames with no recognisable connection
- sections that are noticeably denser or thinner than the rest
In the continuous view you check the order and the transitions. In the large single view you check sharpness, skin, retouching, sensor spots and the edges of the frame.
Leave some time between editing and the final check if you can. After many hours with the same series, repetitions and small mistakes stand out less.
10. Export a small test group before the full export
Do not export the whole wedding straight away. Pick a few typical files:
- a bright outdoor frame
- a dark interior
- a shot with fine detail
- a heavily retouched portrait
- a black and white image
Open the exported files outside Lightroom. Check the dimensions, sharpness, colour profile, file names and visible retouching. Also download one test file by the route your clients will use. That way you are checking not only the export but the delivery too.
If this group is right, you export or publish the complete series.
11. Delivering the wedding
For a finished wedding reportage you usually no longer need a proofing gallery. You have already made the photographic selection and are delivering the edited images as a finished series.
Build the gallery along the course of the day. Choose a cover image that suits the reportage, and on long weddings use a few clearly named sections. Check how it looks on a phone and on a larger screen.
In aftersnap you can upload the images through the browser or publish them straight from Lightroom Classic. Publishing from Lightroom removes the separate export with an upload afterwards as a step of its own. Both routes lead to a client gallery in which you prepare the presentation and the downloads.
Open the finished link in a private browser window. Check the password, the title, the order, the download rights and at least one real download. Only then do you send the gallery to the couple.
12. Closing the job properly
After delivery, the finished files, the current catalogue state and the important retouching files belong in your archive and its backup. Also record which version was delivered and how long the gallery will stay available.
The memory cards are cleared only once the complete job sits in the backup locations you have planned for it. A client gallery is the route for delivery. It does not replace your own archive.
The workflow in short
- Back up the cards and do not reuse them.
- Create two verified copies.
- Import and organise the job unambiguously.
- Flag the obvious write-offs.
- Compare similar sequences.
- Check completeness and the order of images.
- Edit the selection by lighting situation.
- Deal with exceptions and retouching.
- Check the series as a grid, as a sequence and as single images.
- Check a test export.
- Prepare the gallery and test it as a client sees it.
- Archive the job and only then clear the cards.
Read on
- Backup for photographers: keeping images safe from the shoot to the archive
- 2,000 photos, one finished selection: how to cull a reportage
- Handing over wedding photos: a gallery where the day comes back together